Computing environment setup#
The goal of this section is to create a computing environment on your computer so that you can run the python scripts and code snippets required for this course. Follow below steps to set up miniconda, create an environment, and install packages in that environment. If you already have miniconda/anaconda or know any other method which suits your needs in a better manner, then you are free to use that. The end goal is to have a working computing environment that can be used for this course.
NOTE: This guide assumes that you are using Windows OS. If you are using another OS, then the steps will be very similar but there might be more usage of terminal commands.
Step 1: Downloading and installing miniconda#
In this course, we will using conda as an environment manager. Conda is a package and environment management system that allows you to create isolated environments for different projects and manage packages within those environments. There are primarily two ways to get conda - anaconda and miniconda. Anaconda is a distribution of python and conda which comes with a lot of pre-installed packages. Miniconda, on the other hand, is a minimal installation of Anaconda containing only conda, python and a few other useful packages such as pip. If you want to know more, there is also a comparison between Anaconda and miniconda given here. In this course, we will use miniconda to set up our computing environment. However, if you want to use anaconda, you can follow similar instructions as given below. You can skip below steps if you already have miniconda (or anaconda) installed.
Download miniconda from https://www.anaconda.com/download/success. Make sure to select the correct operating system (if not auto-selected).
Open the installer and follow the GUI instructions to install miniconda.
Select “installation type” as “Just Me”. If you select “All User”, then you will need administrator privileges to make changes to the conda environment. It is recommended to select “Just Me” option.
When asked for it, check the boxes for “Register Miniconda3 as my default Python” and “Clear package cache upon installation”.
Once installed, there are two ways to use conda – Anaconda Prompt (a command line tool) or Anaconda Navigator (GUI platform). Use whatever you are most comfortable with. To open Anaconda Prompt or Navigator, simply search for it in the start menu. In this guide, Anaconda Prompt will be used to demonstrate the creation of a computing environment. You can setup a computing environment using the Navigator as well. Some useful tutorials for using the Navigator can be found here. It is highly recommend going through these tutorials if you choose to use Navigator to setup the environment.
Step 2: Creating a new environment#
The process to setup an environment and install packages is the same for both anaconda and miniconda. So, it does not matter which one you installed in previous step. We will create a new environment using conda for this course.
Open the Anaconda Prompt by searching for it in the start menu. You will see a black screen with a command prompt. You will also see
(base)written before the command prompt. When you installed miniconda, it created a base environment in which it installed some packages. By default, the base environment is activated when the prompt is launched.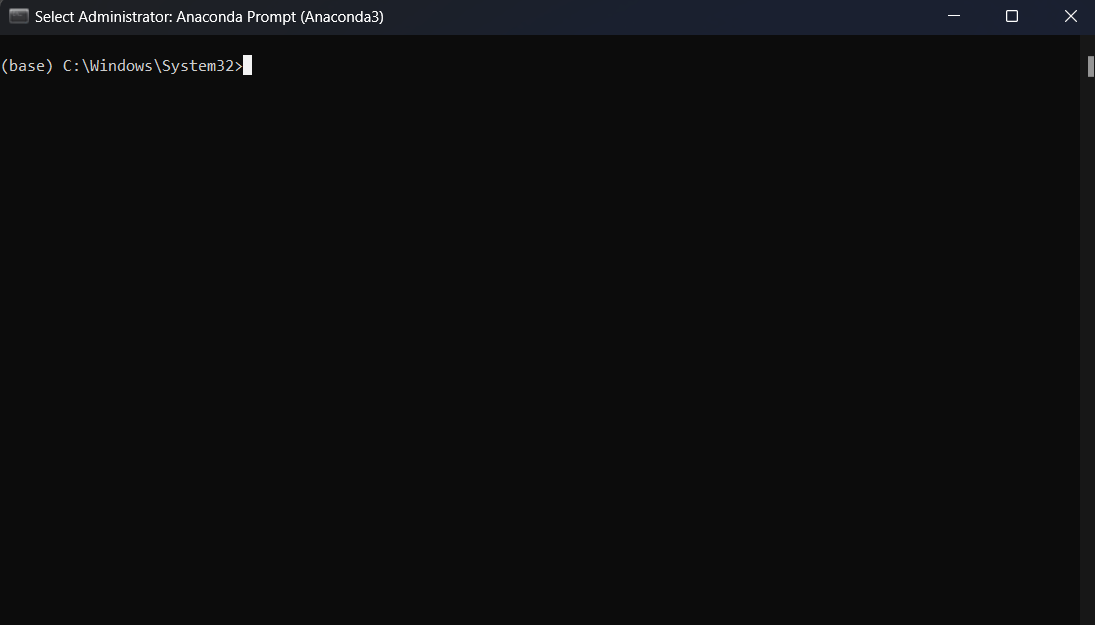
Type
conda listand press enter to run this command. You will see the list of packages installed in the base environment.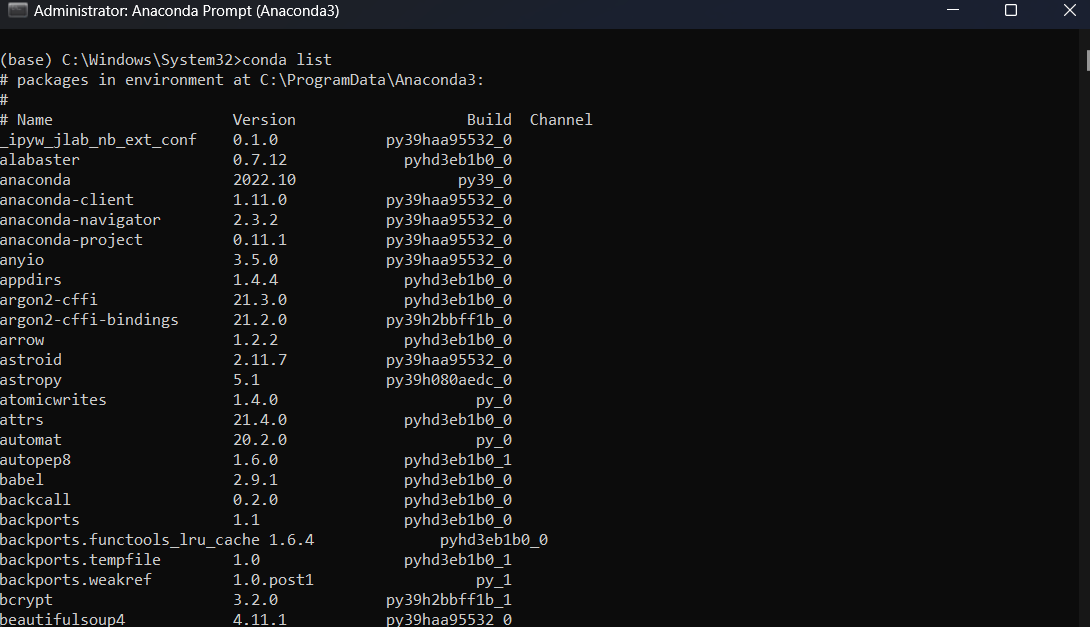
It is recommended to create a new environment for each project to avoid package dependency issues. To check the existing environments, you can run
conda env list.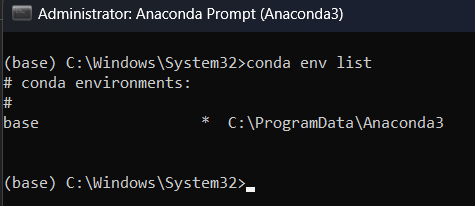
It will show the list of environments and the active environment will have a “*” mark in front of it. If you just installed miniconda or never created an environment, then there will only be one environment called
base.To create a new env, run the command:
conda create -n ENVNAME python=3.12. Replace ENVNAME with whatever name you want to give to the new environment. Thepython=3.12after the environment name tells conda what version of python to install. We will be using python version 3.12 in this course. If the prompt asks you to accept the terms of service from different channels, then accept it by typingaand pressing enter.
Once the environment is successfully created, you will see the following in the command prompt on your screen.
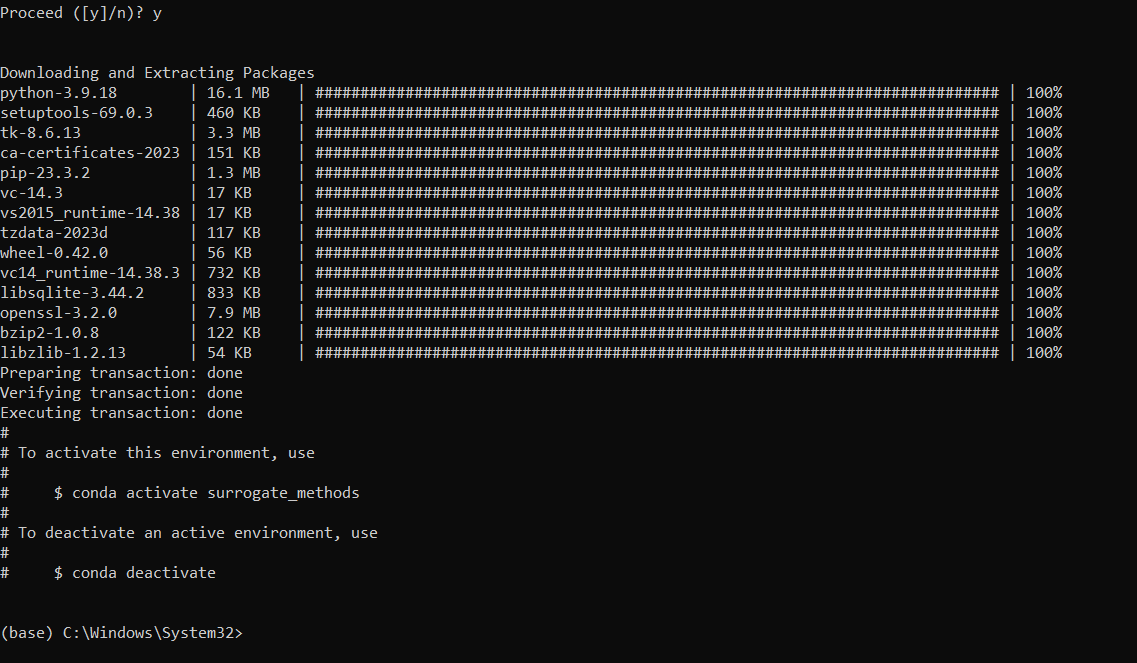
You can run conda env list again and see that your newly created environment is there. For the example shown below, the name of the environment was set to
surrogate_methods.
To activate the newly created environment, run
conda activate ENVNAME. Replace ENVNAME with your environment name. You will see that the(base)before the command prompt will change to theENVNAME.
If you run
conda listnow, then it will show the list of installed packages in the newly created environment. Note that the number of packages will be very less when compared to thebaseenvironment. You will have to install the packages as and when needed.
Step 3: Installing packages#
In this step, you will install some of the packages which you will need during this course. You may install many other packages as you go through the book.
Open Anaconda Prompt. Activate the environment which you created in the last step.
NOTE:
pipwill be the main installer we will be using in this course. We will not be using conda to install any package. conda is just used as an environment manager.After activating the environment, you can run
pip listto see the packages installed using pip within the current environment.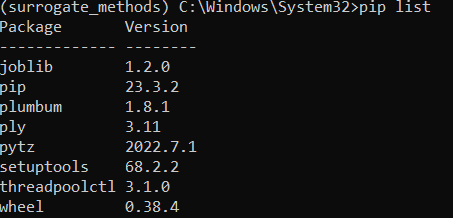
NOTE: It is okay if your list is not exactly same as above.
The first package which you will install is
scimlstudio. This is a Python package that provides various surrogate models you will be using in this course. It is actively developed by CODE Lab and is available here. To install this package, download the zip file for the latest release of this package from here. Once downloaded, unzip the file and navigate to the root folder as shown in below:
In the above image, the zip file is downloaded and unzipped in the
Downloadsfolder. Then,cdcommand is used to navigate to the root folder. Once you are in the root folder, run the commandpip install .to install the pacakge. Make sure to include the dot after install. Once installed, you can runpip listagain and see that the scimlstudio package is now installed in your environment.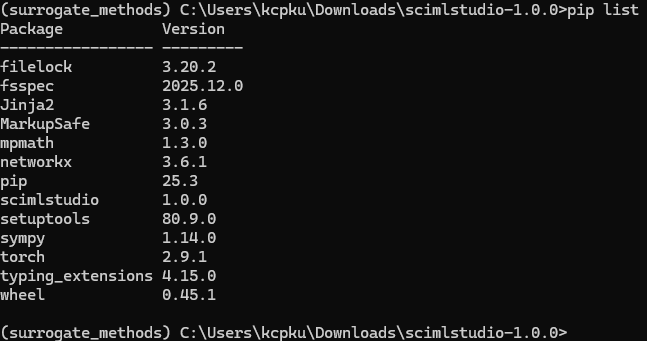
Since
scimlstudiois under active development, you will need to repeat the above steps to install the latest version of the package whenever required during the course. Note that torch is also installed in the above image since it is a dependency for scimlstudio. All the models which you will use in this course are based on PyTorch.Next, install Jupyter Notebook by running:
pip install notebookNOTE: This will install a lot of dependencies that are required for Jupyter Notebook.
Jupyter Notebook is used to create a sharable document that combines computer code, plain language descriptions, math equations, and visualizations. You will be using it in this course to run code snippets described in this book and to create your homework solutions.
Install Matplotlib by running:
pip install matplotlib. Matplotlib is a plotting library for Python which you will use to create visualizations in your notebook.
Your computing environment should be ready now. In the following sections, whenever you are asked to install a new package, you should install it using pip within this environment only.
Converting Jupyter Notebook to PDF#
As mentioned earlier, you will be using Jupyter Notebook to create your homework solutions. You will be required to submit your homework solutions in PDF format on gradescope. There are many ways to convert a Jupyter Notebook to PDF. One of the easiest ways is to use the built-in funtionality of the notebook. To do this, follow below steps:
Open your notebook and click on
Filein the top left corner.In the dropdown menu, click on
Save and Export Notebook as.You will see many options in the pop-up menu. Click on
HTMLoption which will download the notebook in HTML format.Open this HTML file in your browser. You can print the file and save it as PDF.
You can also directly convert the notebook to PDF by clicking on PDF in the pop-up menu. However, this method requires you to have a TeX distribution installed on your computer which can be a bit tricky to set up. If you want to go with this method, then the instructions given here can be useful. But, the first method of converting to HTML and then to PDF is much easier and does not require any additional setup.